

The complete guide
The Complete Guide to Choosing WPC Composite Fence Panels
Composite fencing swaps the yearly re-stain of a timber panel for a board made from wood fibre bound with recycled plastic. It costs more up front than timber, but the running cost — time and money spent maintaining it — is close to zero. This guide covers what actually matters when specifying a composite fence panel and post kit.
Single-post or two-post: which kit do you need?
If you're adding one more bay to a fence you've already started, a single-post kit is the right order — you already have a post at the far end, so this kit's one post closes the gap. If you're starting fresh — a new boundary, a stand-alone screen, or the end of a run — a two-post kit gives you a complete, self-contained bay with a post at each end. Mixing the two kit types along one run is normal; most gardens use one two-post kit to start, then single-post kits to extend.
Choosing a height
4ft suits a front garden boundary or a low screen where you still want sightlines. 5ft is the common in-between choice — tall enough to screen a seating area or bin store without the bulk of a full privacy fence. 6ft is the maximum most UK councils allow without planning permission on a rear boundary; always check your local council's rules before installing, particularly next to a public highway where the limit is often lower.
Colour and finish
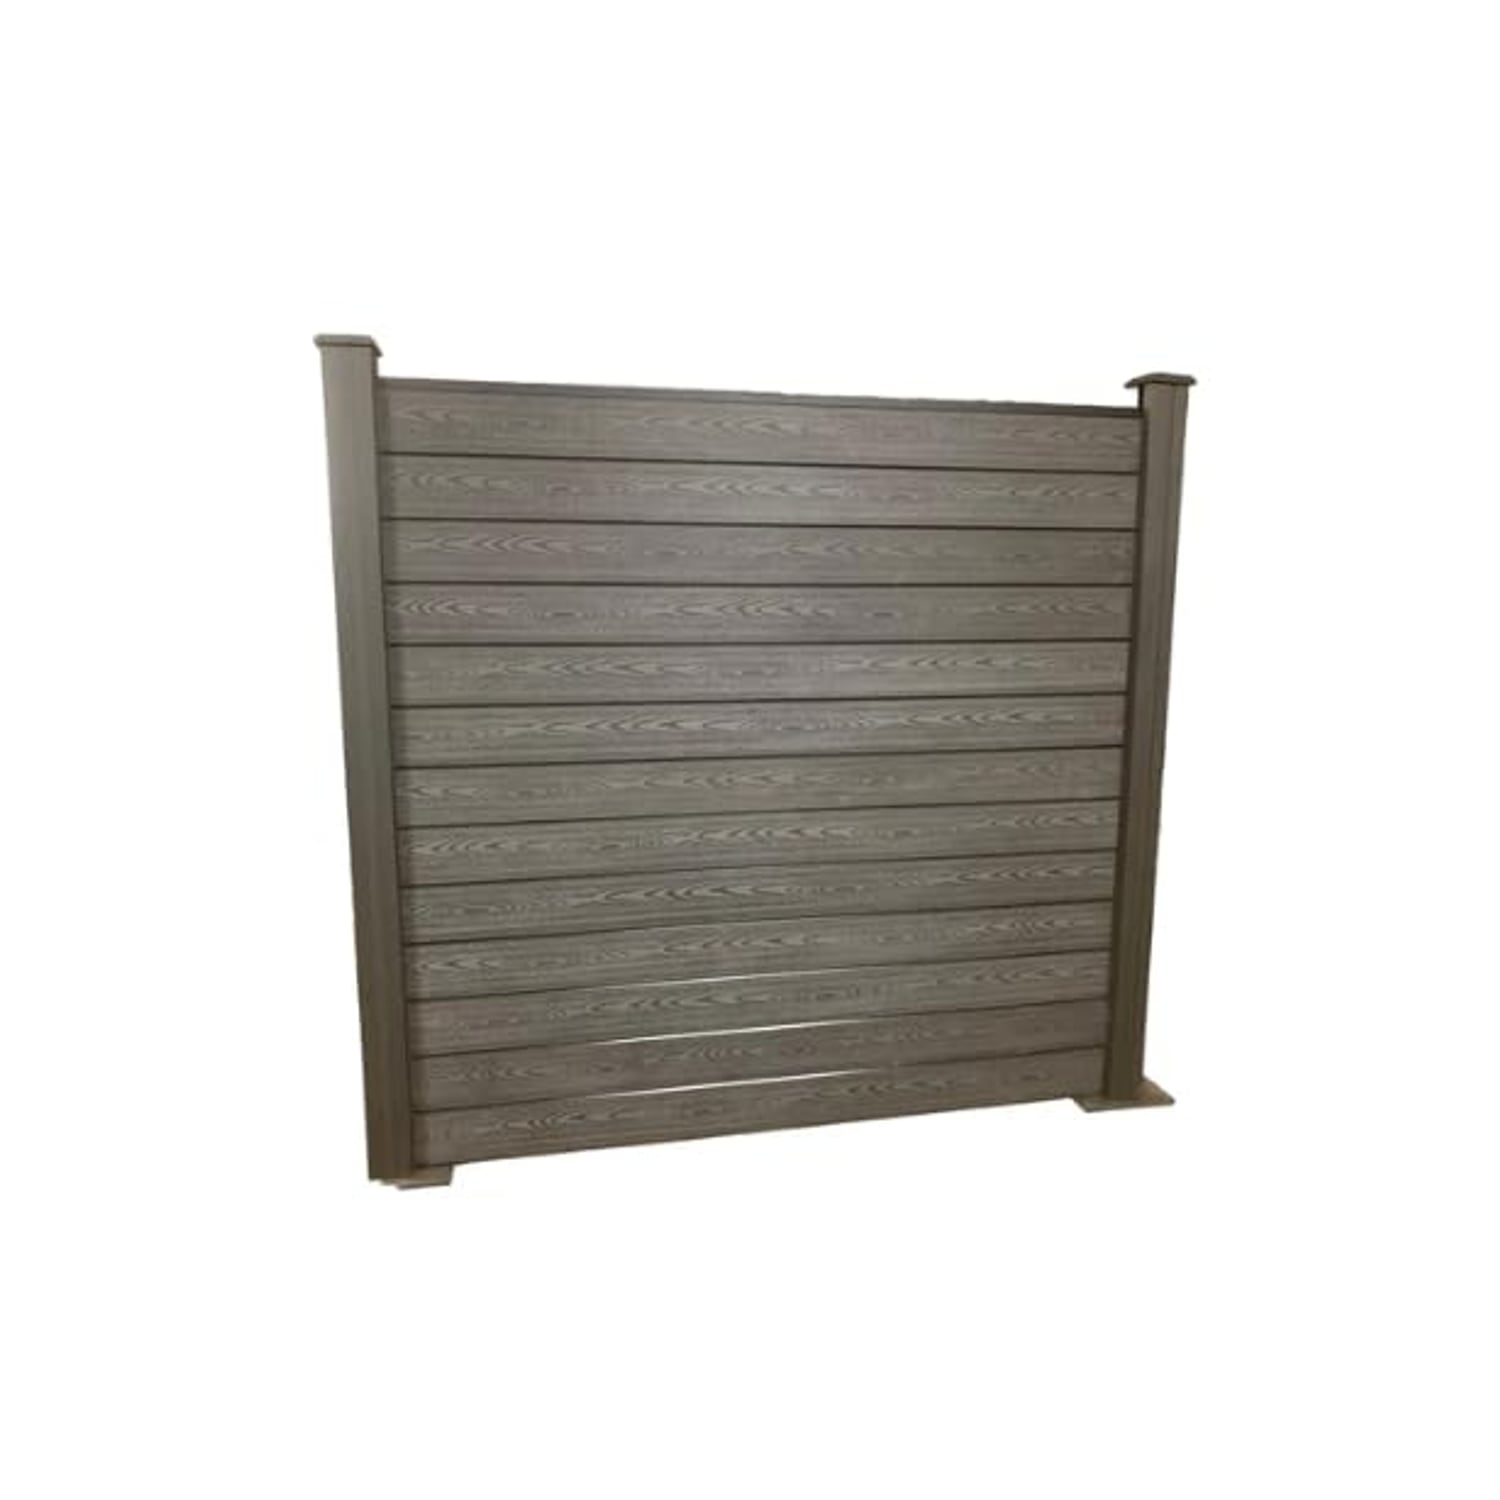
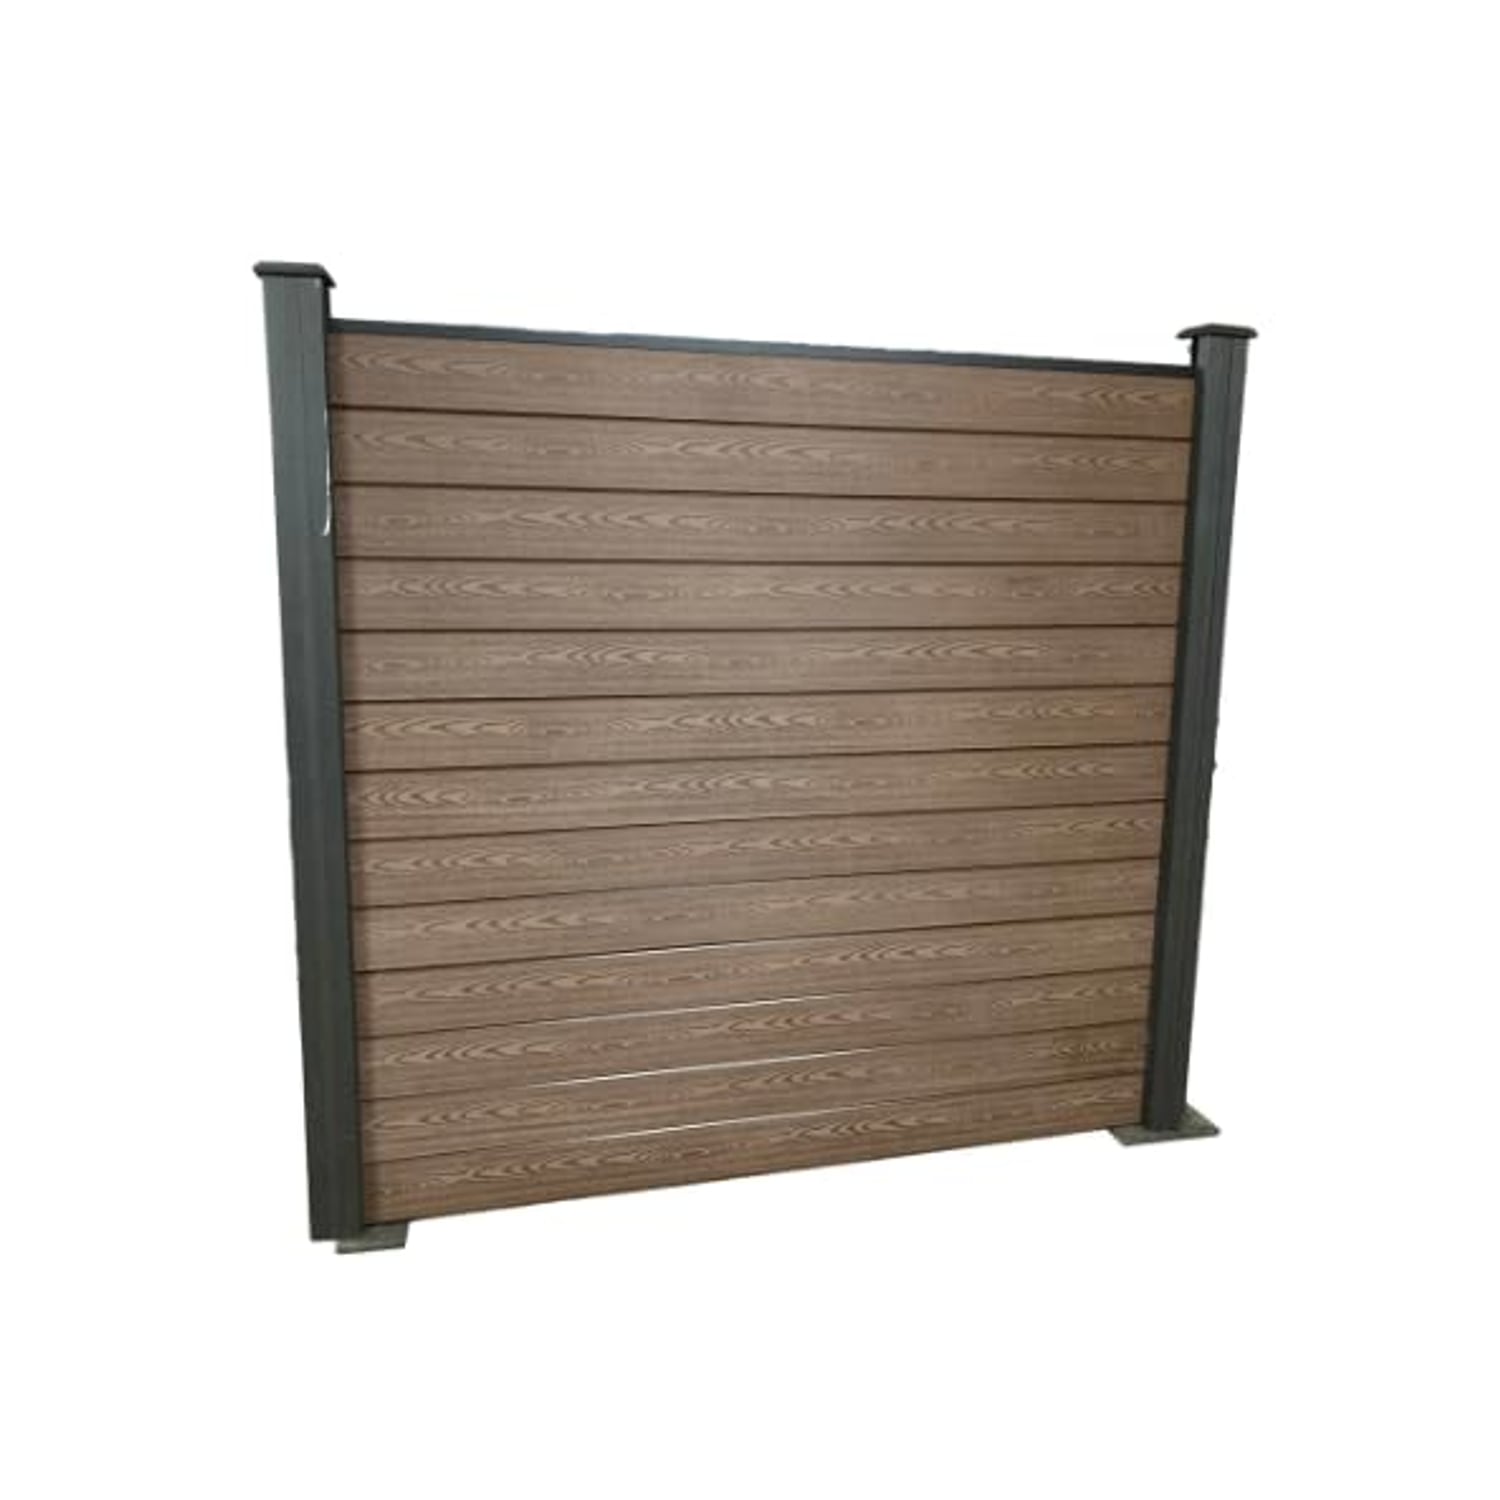
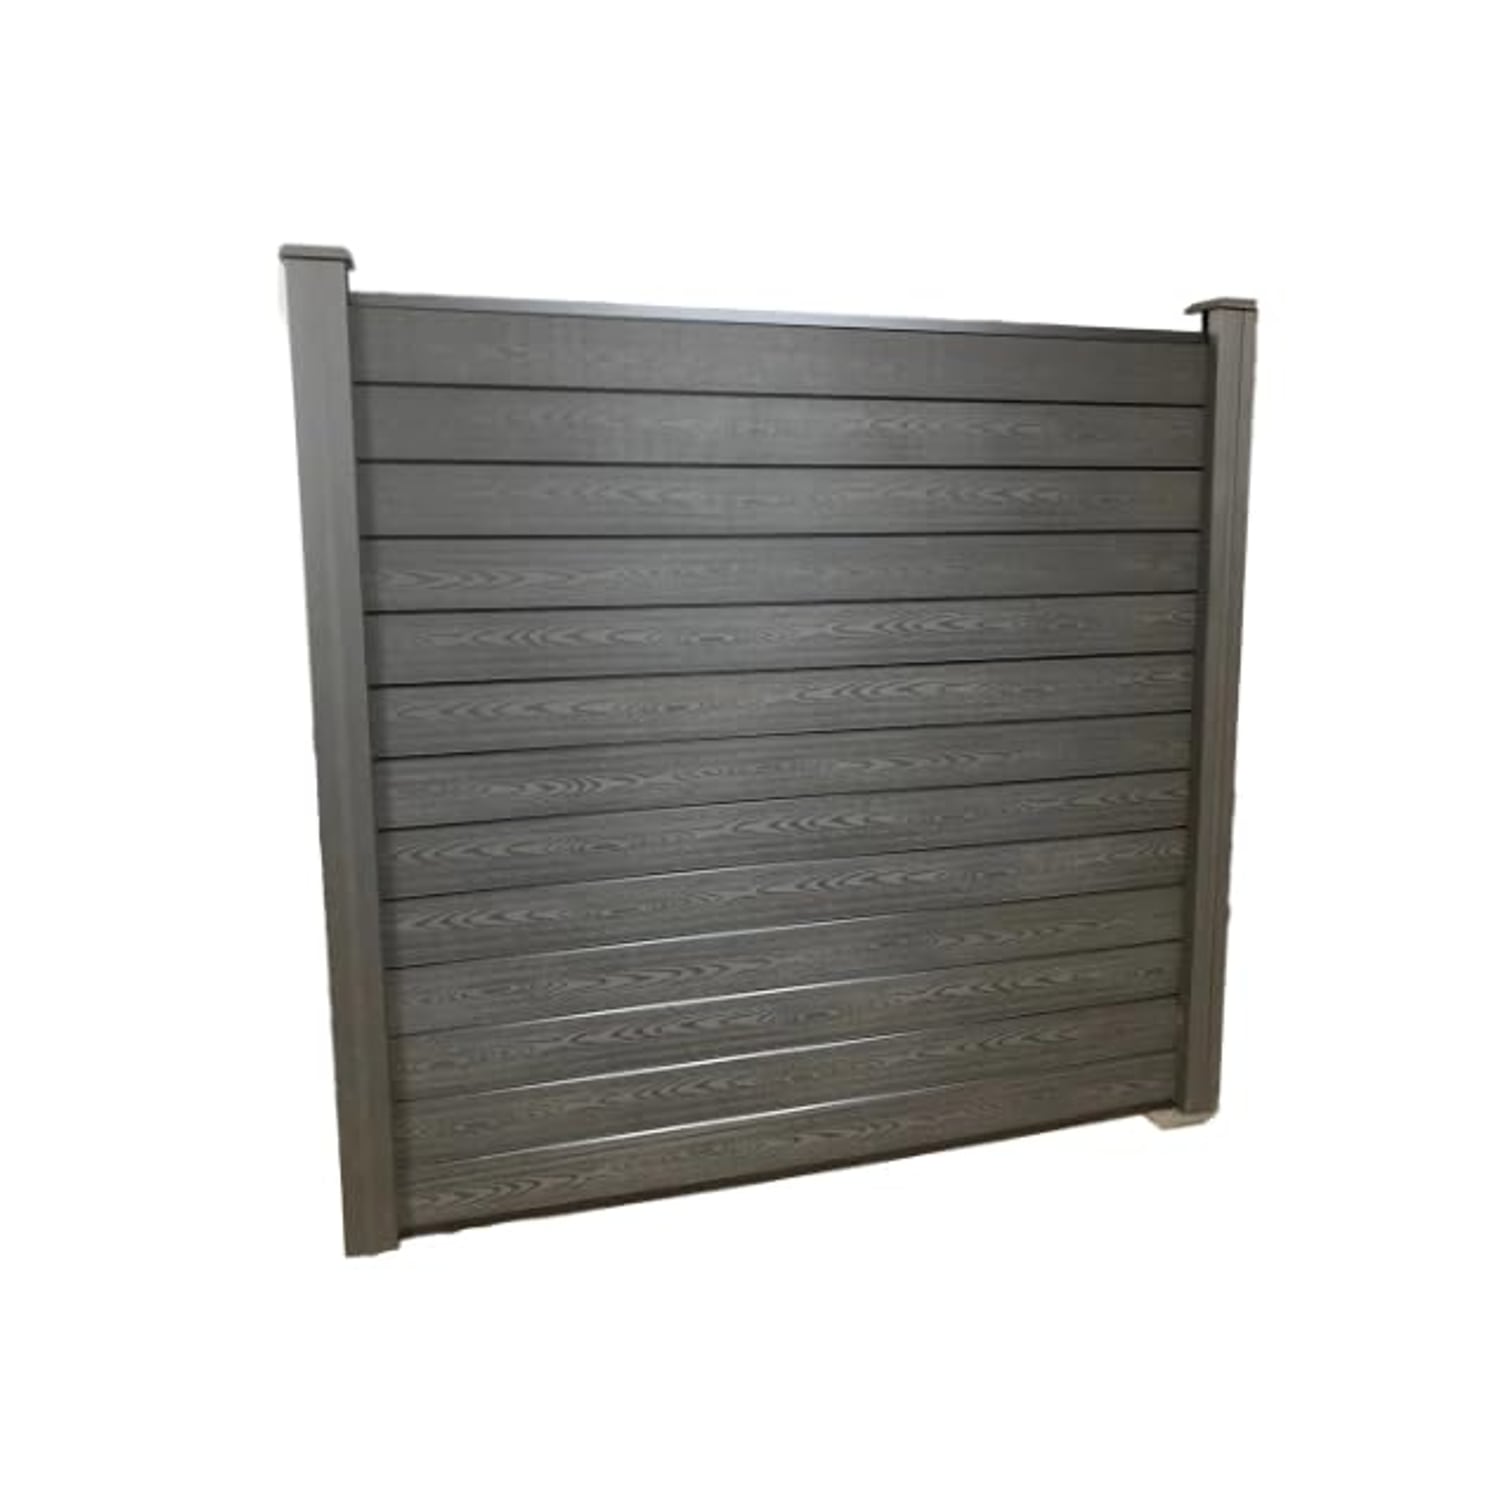
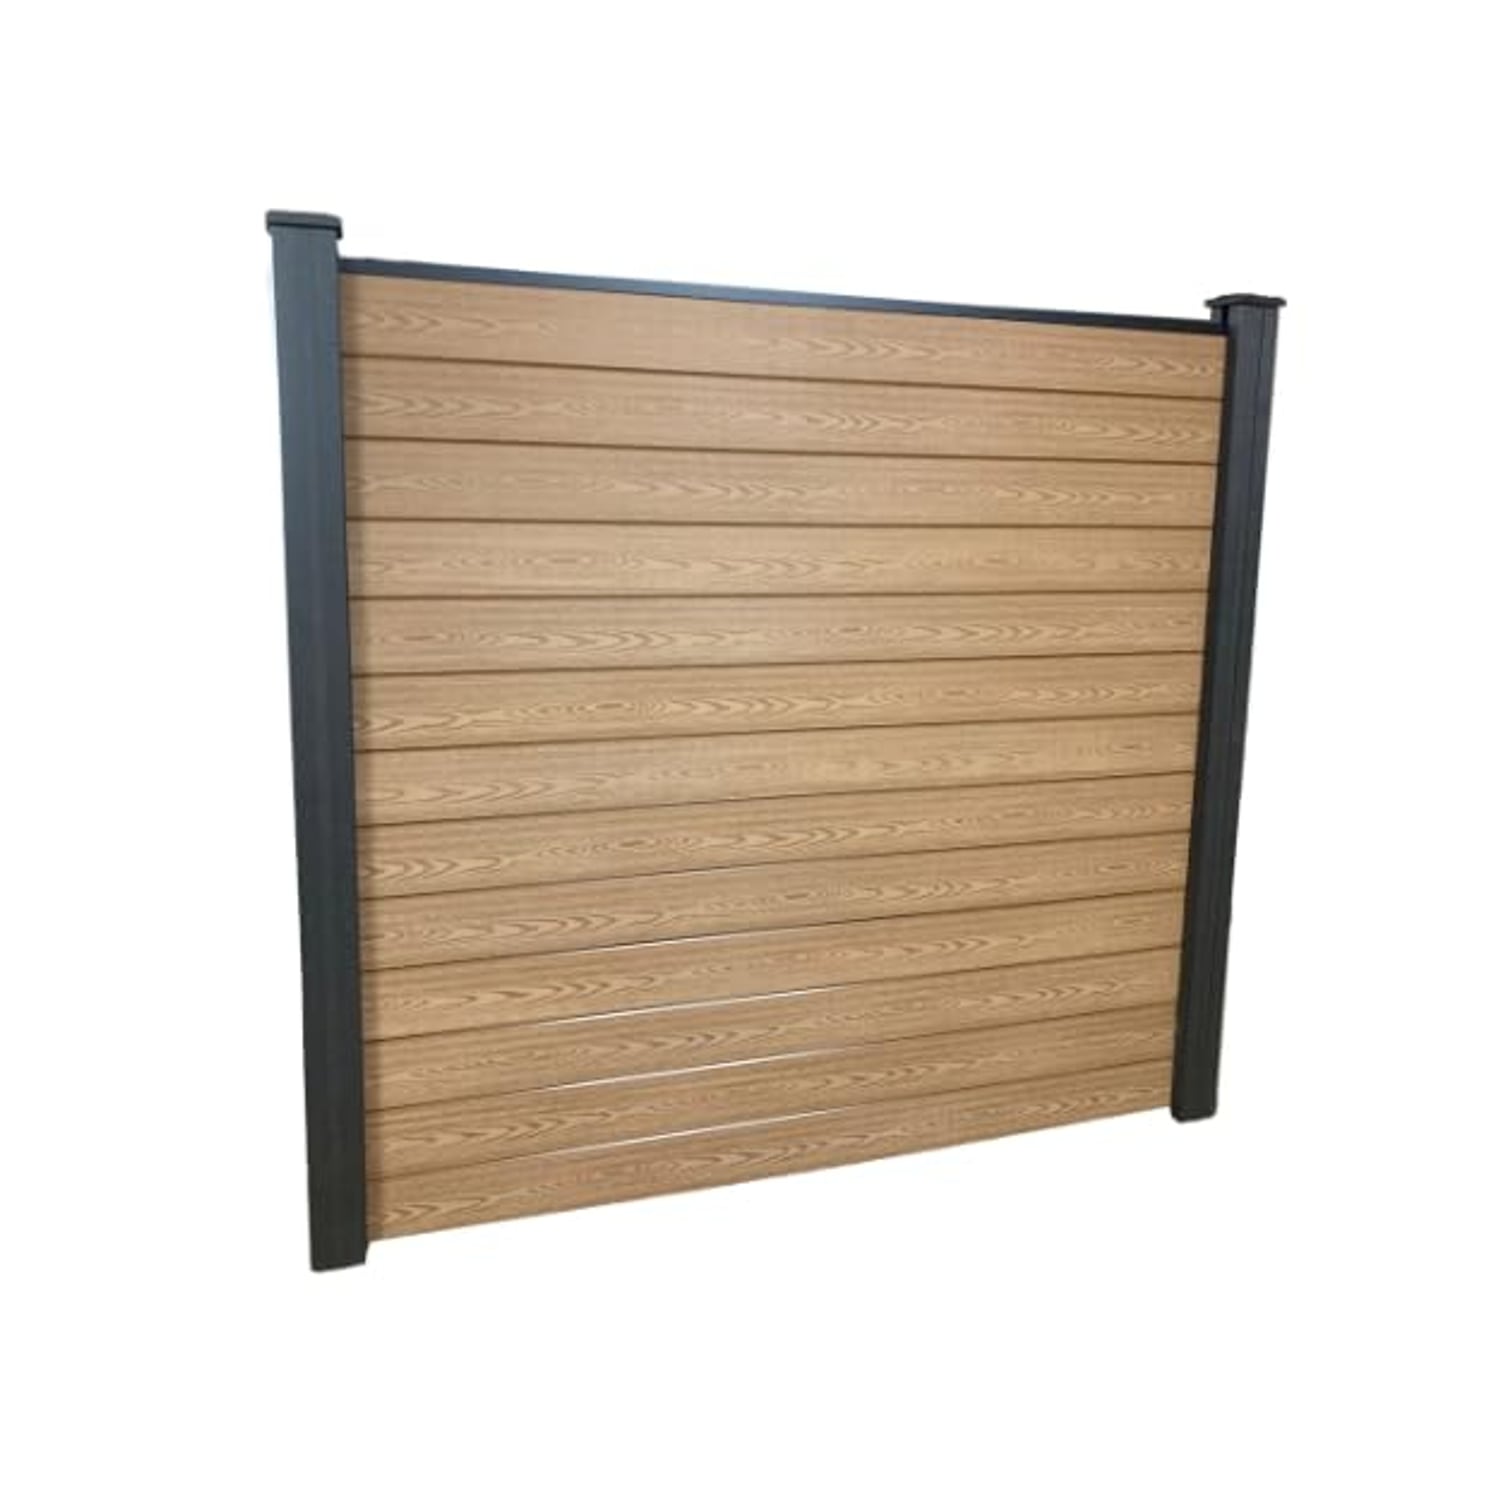
Charcoal Black and Ash Grey are contemporary, near-matt tones that disappear into planting. Golden Oak and Autumn Oak carry a moulded woodgrain texture for a look closer to a freshly-treated timber fence, with Autumn Oak running a shade deeper and better at hiding general grime than the lighter finishes. The colour runs through the board rather than sitting on top of it, so scuffs don't reveal bare material underneath the way a scratch on a painted timber panel does.
What's actually in the box
Every kit here includes the composite boards, the post(s), aluminium top and bottom rails, edge strips to finish the cut ends, L brackets to fix the bottom rail, and a post cap. The rails are designed to take a panel straight (180 degrees), at a 90-degree corner, or as a T-junction, so one kit design covers a straight run, a corner, or a branch without a specialist corner post.
Standalone posts: repairs and custom layouts
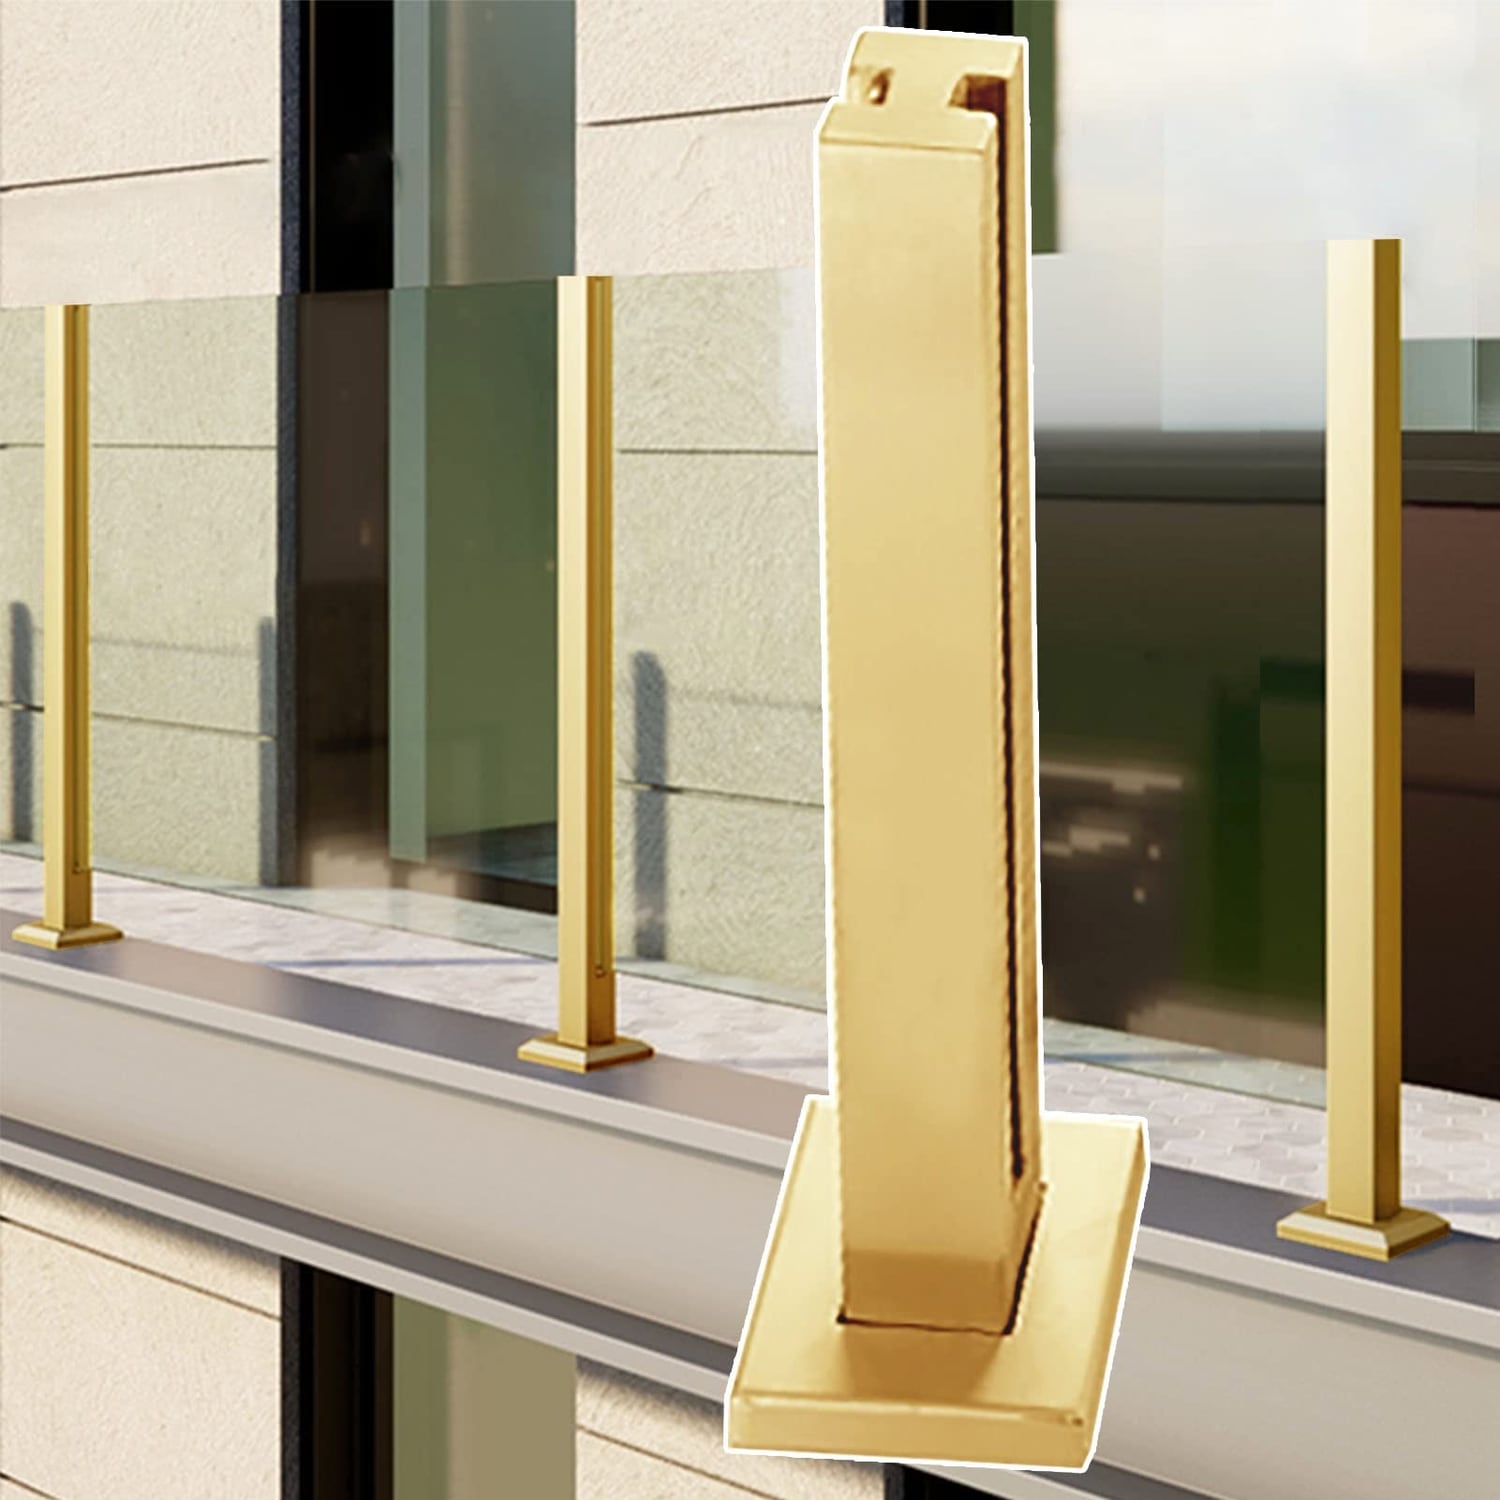
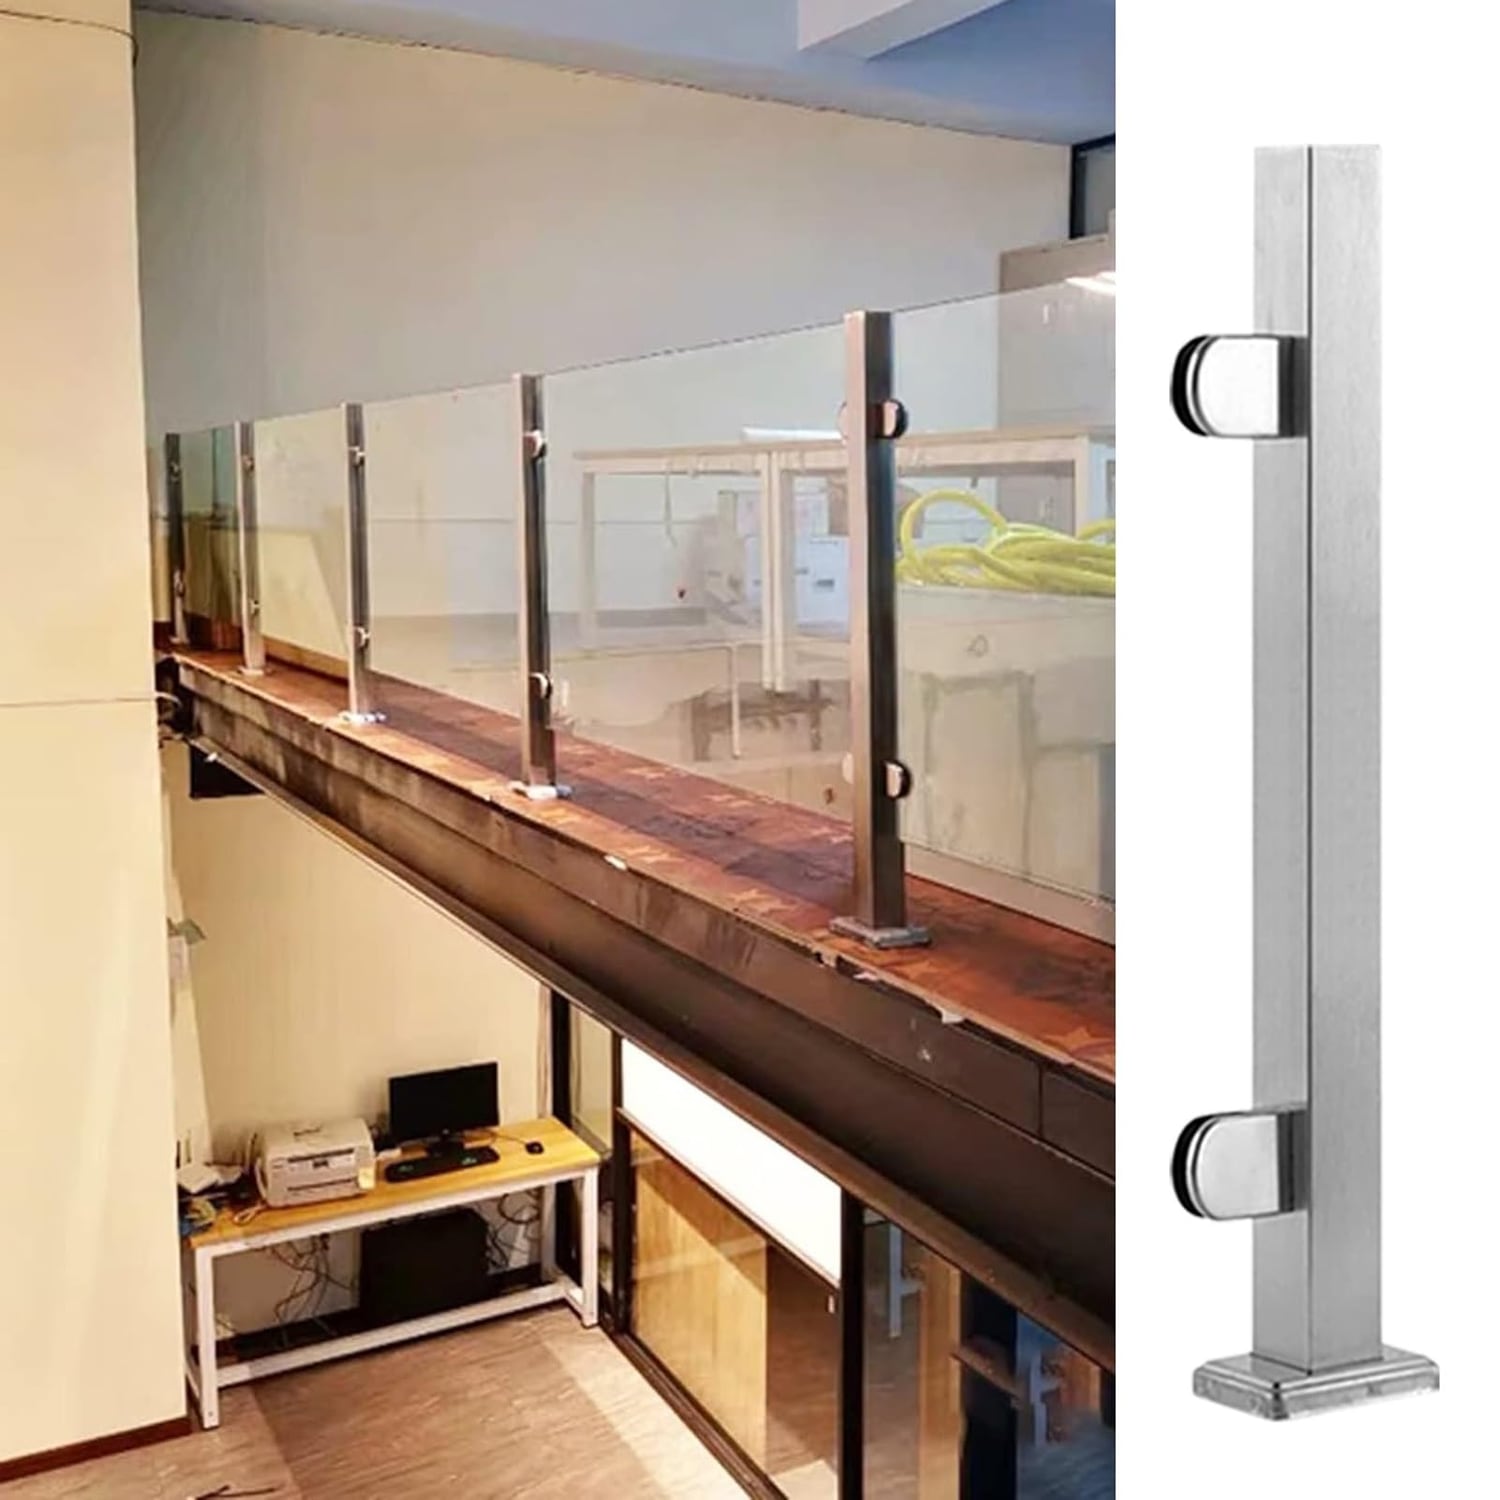
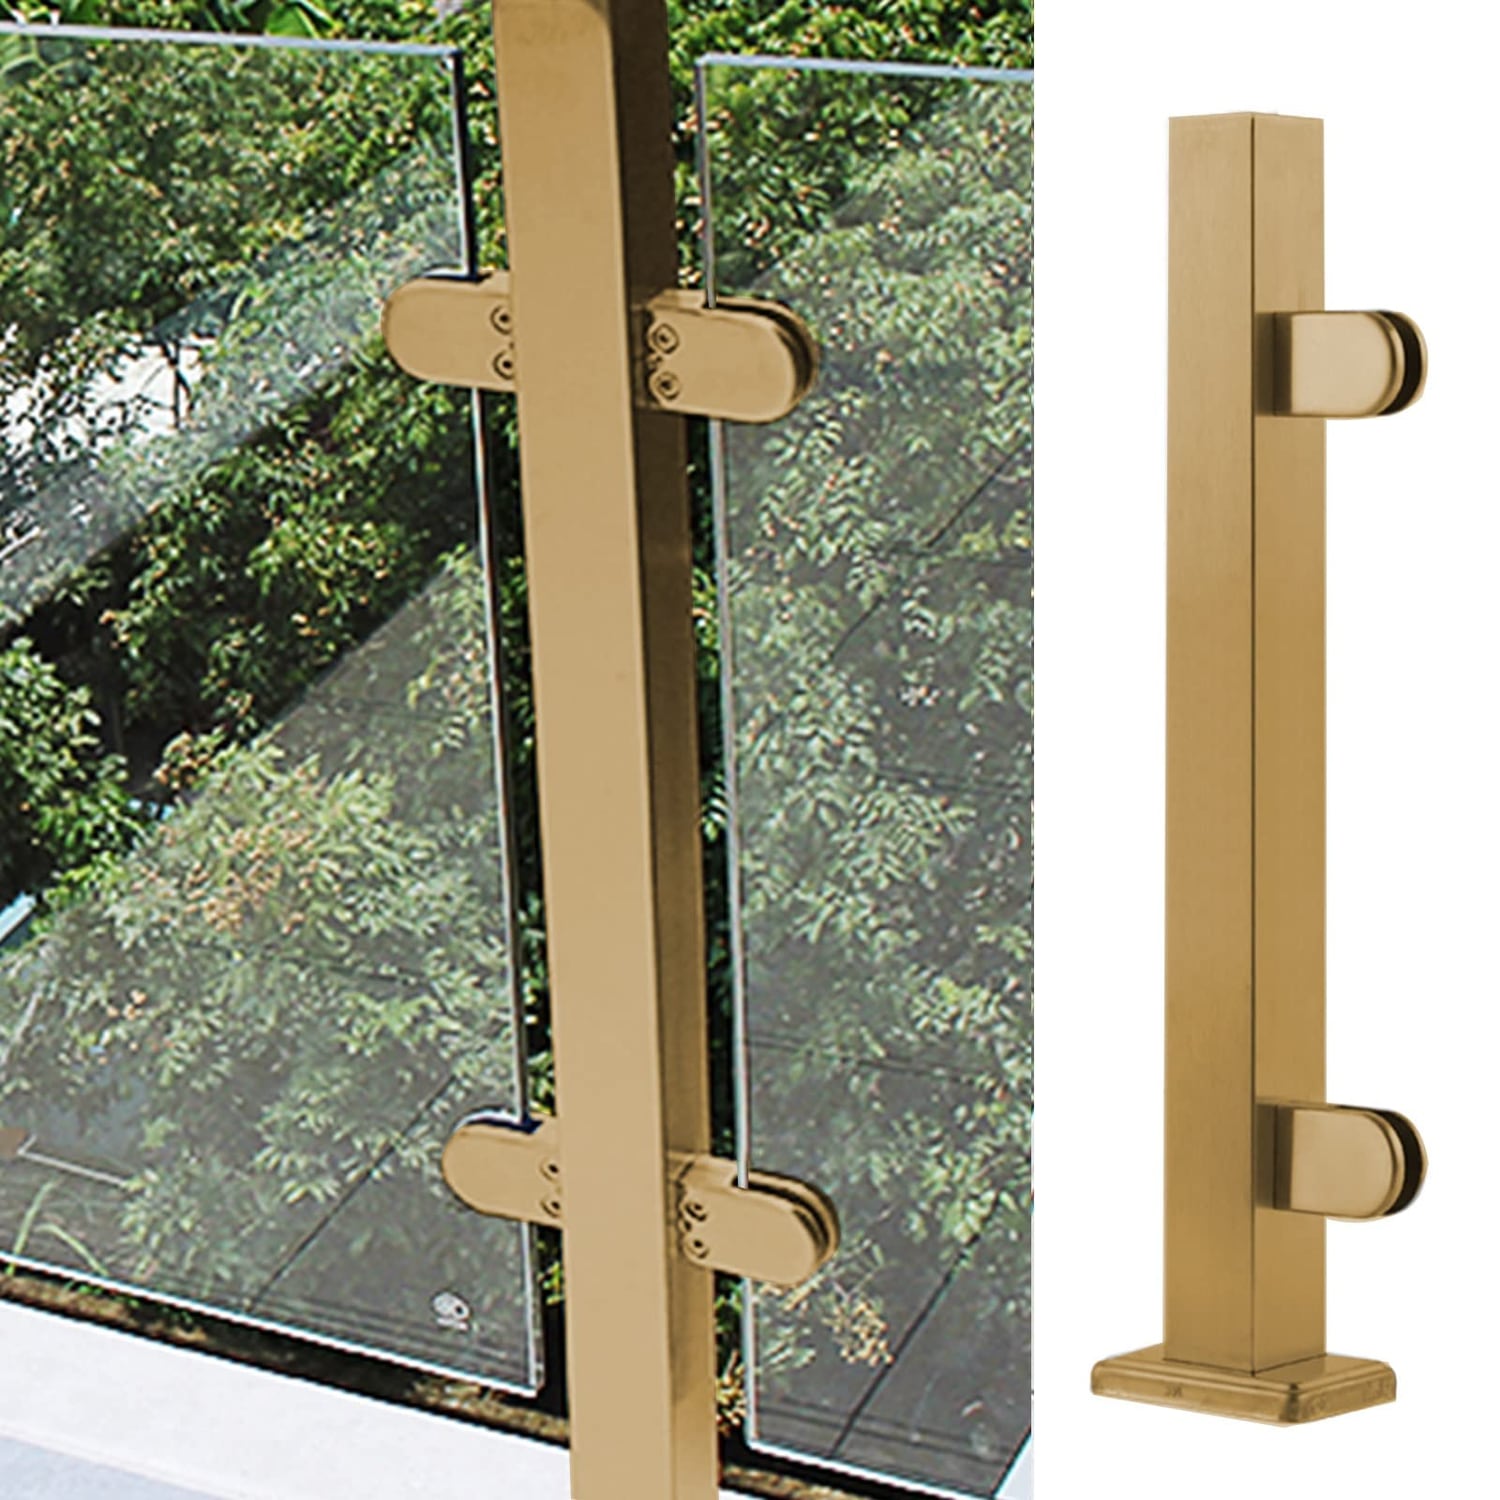
A 304 stainless steel or spigot post sold on its own is for a different job: adding a mid-run support point on a longer run, replacing a single damaged post, or building a layout where the spacing doesn't match a boxed kit's fixed bay width. These posts take panel infill 8-12mm thick, which covers WPC composite board as well as timber, glass or acrylic — useful if you're mixing panel types along one boundary.
Installation basics
Concrete the post in first and let it cure fully before hanging boards — a post that moves under load loosens the whole run over time. Check posts are plumb before the concrete sets; the boards will visibly telegraph any lean along the panel. Beyond that, installation is largely tool-light: a spirit level, post-hole equipment, and a drill for the brackets.